To determine whether the AC motor is damaged, it can be gradually inspected through three dimensions: sensory observation, operation status detection, and key component inspection. The following are specific methods (applicable to common single-phase/three-phase AC motors, such as household electric motors, industrial drive motors, etc.):
1、 Firstly: Preliminary sensory assessment (no tools needed, quickly identify obvious faults)
The most basic first step is to determine whether there is a visual fault by “looking, listening, smelling, and touching”:
1. Observe: Observe the appearance and operational phenomena
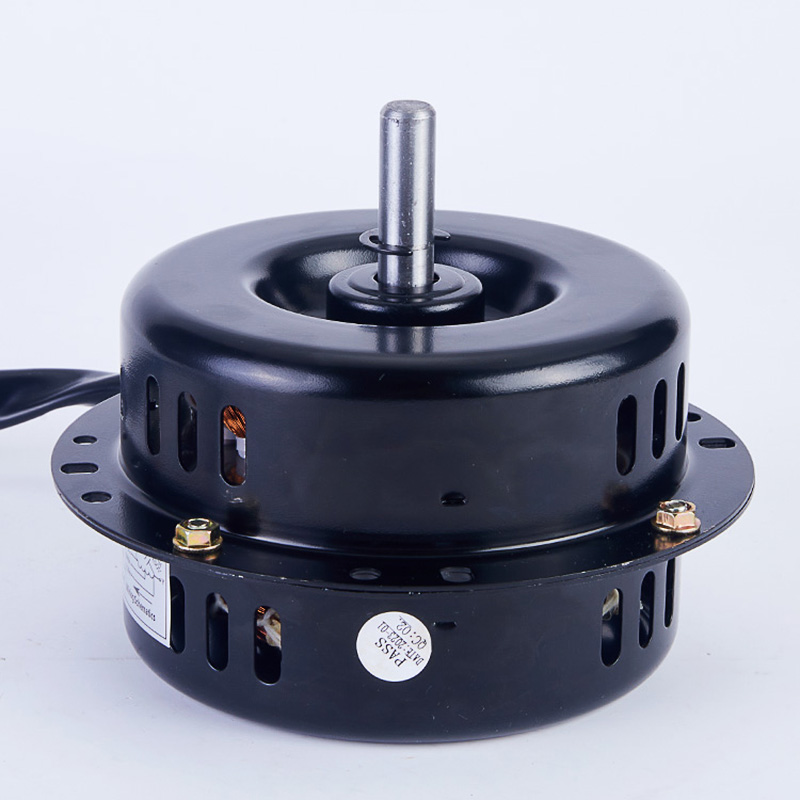
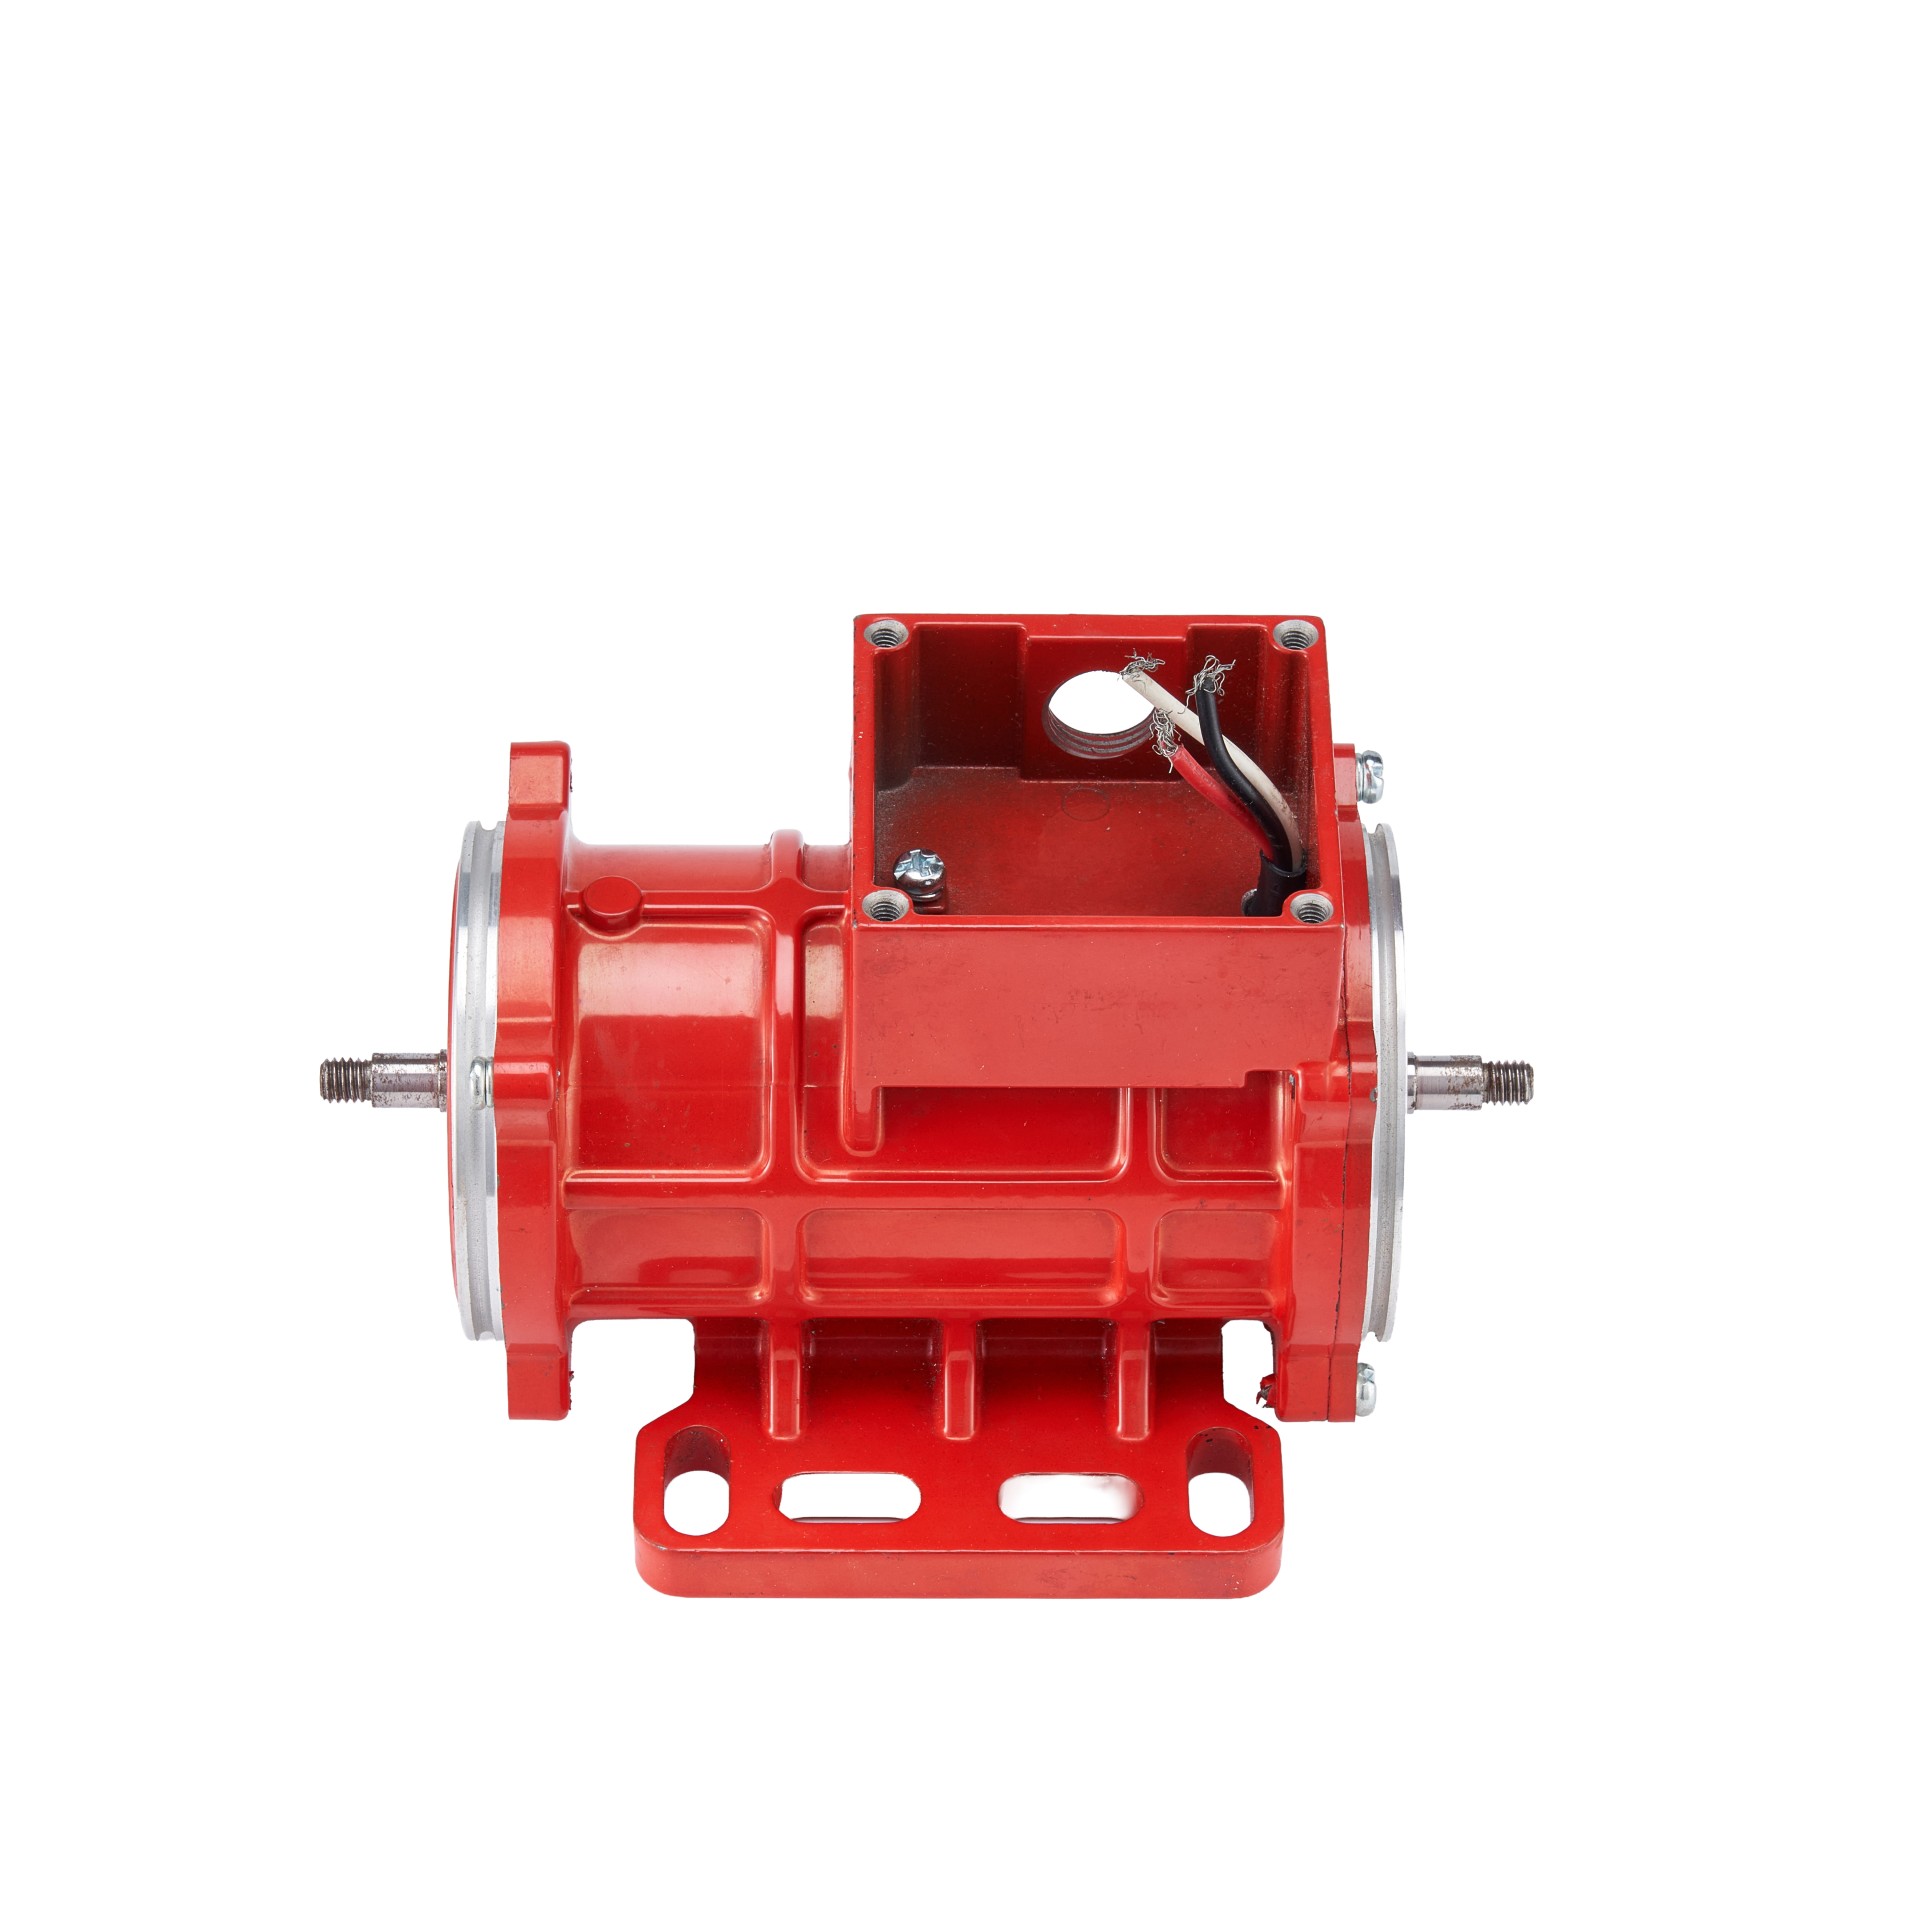
Appearance damage: Check whether there are cracks or deformations in the motor housing, whether the wiring terminals are loose or burnt black (if the terminals are burnt black, it may be an overheating fault caused by loose wiring).
Cooling fan/hood: If the motor is equipped with a cooling fan, check if the fan is broken and if the hood is blocked (blockage can cause poor cooling and indirectly damage the motor).
Abnormal phenomena during runtime:
The motor does not rotate at all after being powered on (after ruling out power issues, it is highly likely that there is a malfunction in the internal coils or starting components);
The motor vibrates violently after starting (possibly due to rotor eccentricity, bearing wear, or load end (such as water pump, gear) jamming, which drives the motor to vibrate);
Smoke or sparks are emitted from the motor casing or wiring (serious fault signal, immediate power-off is required, possibly due to coil short circuit or grounding).
2. Smell: Identify abnormal odors
During normal motor operation, there is only a slight metallic heat dissipation odor or no obvious odor;
If you smell burnt or burning plastic, it is highly likely that the insulation layer of the internal coil has been burned (due to coil short circuit or overload causing overheating);
If you smell a pungent odor: it may be due to “dry grinding” of the bearing after oil shortage, or the deterioration of the lubricating grease (the decomposition of grease at high temperatures produces an odor).
3. Listen: Identify operating noise
During normal motor operation, the noise is uniform and stable (with only a slight buzzing electromagnetic sound or fan rotation sound);
Be alert to abnormal noise:
Zizi “discharge sound: It may be due to insulation damage of the coil, resulting in” ground discharge “(leakage between the coil and the motor casing);
‘Kaka’ friction sound: It may be due to the rotor and stator ‘sweeping the chamber’ (bearing wear causing rotor displacement, friction with stator iron core);
The buzzing sound becomes louder and the motor does not rotate: single-phase motors may have “starting capacitor failure” (unable to provide starting torque), while three-phase motors may have “phase loss operation” (one phase is missing from the three-phase power supply, resulting in motor weakness and overload).
2、 Advanced: Eliminate power and load issues (avoid misjudging the motor itself)
Many times, ‘motor not turning/abnormal’ is due to power or load faults, rather than the motor itself being broken, and needs to be investigated first:
1. Check for power issues
Single phase motors (such as household appliances and small equipment):
Measure the voltage of the power socket with a multimeter (normal 220V ± 10%). If the voltage is 0 or too low, repair the power supply first;
Check if the motor power cord is broken (especially at the plug and wiring terminal), as wire damage may cause “power failure”.
Three phase motors (such as industrial water pumps and fans):
Measure the three-phase power supply voltage with a multimeter (normal 380V ± 10%), and the three-phase voltage difference should be ≤ 5%;
Key check for “phase loss”: If one of the three phases has a voltage of 0, the motor may “buzz and not turn” (phase loss operation will quickly burn out the coil and require immediate power-off).
2. Investigate load issues
The “load” of a motor refers to the equipment it drives (such as water pumps, gearboxes, fan blades):
Disconnect the motor from the load (such as disconnecting the water pump coupling or removing the fan blades), and power on the motor separately:
If the motor can rotate normally (without noise and with normal temperature), it indicates a load fault (such as a stuck water pump impeller or gearbox), rather than a broken motor;
If the motor is still abnormal (not turning, loud noise) after disconnecting the load, confirm that it is a fault of the motor itself.
3、 Core: Use tools to detect internal faults in the motor (confirm damaged components)
If power and load issues are excluded, a multimeter and an insulation resistance meter (shaking table) are needed to detect key components such as “coils,” “insulation,” and “bearings” inside the motor. This is the core of determining whether the motor is damaged:
1. Check the motor coil (to determine if there is a short circuit or open circuit)
The core of a motor is the “stator coil”, and a broken coil (broken wire) or short circuit (broken insulation between wires) can directly cause damage to the motor.
(1) Single phase motor coil detection (usually includes “main coil” and “starting coil” with starting capacitor)
First, locate the motor wiring terminals (usually labeled as U1/U2 “main coil”, V1/V2 “starting coil”, PE “grounding”);
Measure with a multimeter in “resistance mode (Ω mode, select 200 Ω or 2k Ω mode)”:
Main coil resistance (U1-U2): Normally, there should be a fixed resistance value (such as tens of Ω to hundreds of Ω, depending on the motor power, the larger the power, the smaller the resistance);
If the resistance is “∞ (infinite)”, it indicates that the main coil is broken (damaged);
If the resistance is close to 0 Ω, it indicates that the main coil is short circuited (broken).
Starting coil resistance (V1-V2): The resistance value is usually larger than that of the main coil (due to the number of turns in the starting coil). If the resistance is ∞ or 0, it is also an open/short circuit (broken).
Short circuit between coils: Measure U1-V1 (between the main coil and the starting coil), and the normal resistance should be “∞”;
If there is a resistance value (such as several tens of Ω), it indicates that the insulation between the two coils is damaged, resulting in a “phase to phase short circuit” (broken).
2. Check the insulation of the motor (to determine if there is any leakage)
There is an “insulation layer” between the motor coil and the casing. If the insulation is damaged, it can cause “coil to ground leakage” (when the casing is energized, there is a risk of electric shock and it can also cause faults). An insulation resistance meter (shaking meter, 500V or 1000V range) should be used to test:
Step: Disconnect the motor power supply, connect the “L” end of the shaking table to the motor coil terminal (such as U1), and connect the “E” end to the motor housing (metal part, need to remove paint to ensure good contact);
Shake the handle of the shaking meter (at a speed of about 120 revolutions per minute):
Normal insulation resistance: ≥ 0.5M Ω (for low-voltage motors, such as 220V/380V);
If it is less than 0.5M Ω, it indicates insulation damage and motor leakage (damaged, requiring repair or replacement);
If the insulation resistance is 0 Ω: the coil is directly “short circuited to ground” (a serious fault that cannot be repaired and requires motor replacement).
3. Check the motor bearings (to determine if they are worn)
Bearings are the “support” of motor rotors, and wear can cause rotor displacement, sweeping, and loud noise, which are common faults in motors:
Simple detection: After power failure, rotate the motor shaft (rotor shaft) by hand:
Normal: Smooth rotation, no jamming, no obvious looseness (able to inertia rotate a few times after rotation);
Abnormality: The rotation is stuck, there is a “clunking” sound, or the radial/axial looseness of the shaft is obvious (there is clearance when shaking the shaft by hand), indicating severe bearing wear (the bearing needs to be replaced, and if it has caused sweeping, the coil may also be damaged).
Professional testing: Use a “bearing tester” to measure the vibration value. If it exceeds the vibration standard specified for the motor (such as GB/T 10068), the bearing needs to be replaced.